
How to install an eSIM on your iPhone, step by step
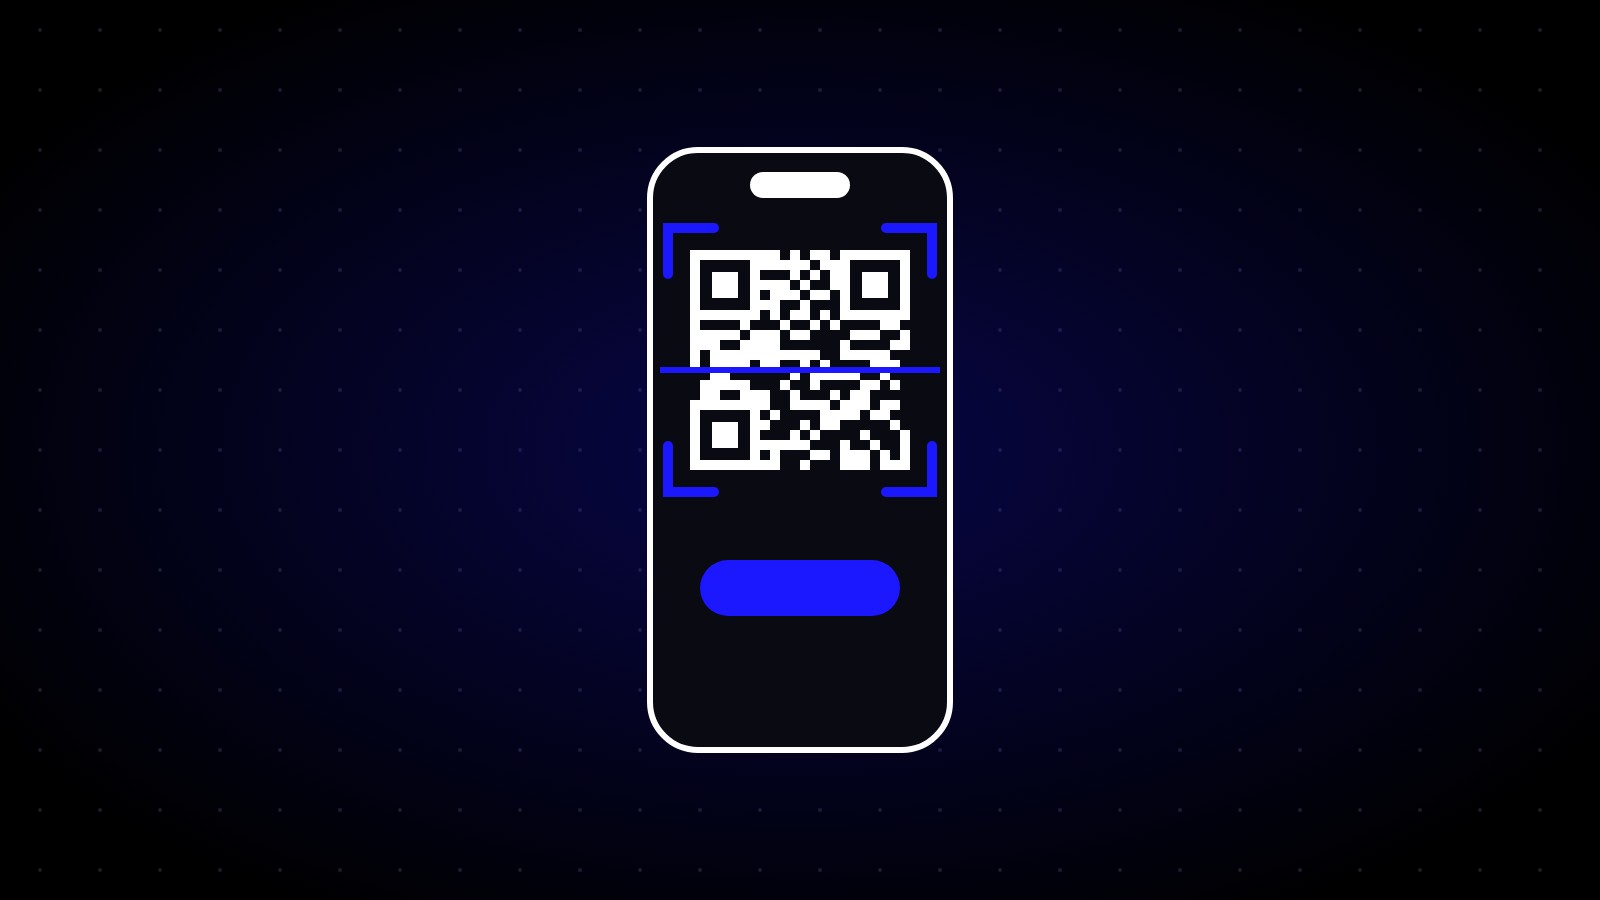
Installing an eSIM on an iPhone takes about two minutes. Do it at home on Wi-Fi, a day or two before you travel, and you'll land with data ready to go.
Before you start
- Connect to Wi-Fi. The eSIM downloads over the internet.
- Make sure your iPhone is unlocked and supports eSIM. Not sure? Check here.
- Have your SimOrbit QR code ready. You'll find it in your email and under My eSIMs in your account.
Option 1: install with the QR code
- Open Settings → Mobile Service (on some versions it's Cellular or Mobile Data).
- Tap Add eSIM.
- Tap Use QR Code and scan the code. If the code is on the same phone, take a screenshot and tap Open Photos to pick it.
- Tap Continue and wait a moment while the eSIM downloads.
- Give the line a name, like SimOrbit Travel, so it's easy to spot.
Option 2: one-tap install
On iOS 17.4 and newer, you can often install with a single tap. Open your eSIM in the SimOrbit app or website on the same iPhone and tap Install. Your iPhone walks you through the rest.
Choose your lines
During setup your iPhone asks how to use the two lines:
- Default line: keep your home SIM for calls and messages.
- Mobile data: choose your SimOrbit eSIM.
- Turn off "Allow Mobile Data Switching" so your phone never falls back to your home SIM's roaming data.
When you land
- Go to Settings → Mobile Service and tap your SimOrbit line.
- Make sure Turn On This Line is on.
- Turn on Data Roaming for the SimOrbit line. This is normal and won't cost extra: it's how a travel eSIM connects to local networks.
Give it a minute to find a network. You should see the signal bars and network name appear.
Important
Don't delete the eSIM once it's installed. In most cases a deleted eSIM can't be installed again. If something isn't working, read our fixes or contact support first.